Fire bricks…yup…went and figured out how to get them into my oven.
I’ve been baking with a pizza stone for the past year, which works, but is kinda small. If I wanted to bake a baguette of any decent length, I had to angle the loaf diagonally across the stone. It worked, but limited the amount of bread I could actually bake.
So I investigated my options. First I turned to my favorite bread baking book, The Bread Baker’s Apprentice, by Peter Reinhart. He discusses stones, but doesn’t really offer an actual solution. After conducting my own research, I can see that this is not surprising at all. There are tons of options out there, and your solution will really depend upon how much money you have and what is available to you in your region.
So, after perusing Peter’s book, I turned to Google and all the folks out there. Various forums ended up offering me the most information. What I walked away with was quarry stones or unglazed ceramic tiles. These two things seemed the most prevalently used solutions. I searched pretty hard here in Tempe, AZ for quarry stones or unglazed tiles to no avail. Apparently, no-one carries unglazed tiles around here. This is strange since tile is one of the most widely used flooring surfaces in the Phoenix valley. FYI, neither Lowes, nor Home Depot carry unglazed tile around here as well.
I called Arizona Tile ( a huge tile retailer and distributor ) and the *cough* most helpful sales lady instructed me that people come in and buy travertine slabs for their ovens. I asked if it was a good stone to use in the oven and was promptly told, “that is what people buy”. Ok, so Google hasn’t coughed up much on travertine use in ovens, so I ditch them (mostly because of the sales lady’s attitude).
So I ask myself, now what? As a last ditch effort, I call the gravel materials store just down the street, Marvel. The guy knows what I’m trying to do and recommends Fire Bricks. They have them in stock and sell the all the time to folks who use them in their commercial pizza ovens. So I go back to my friend, Google, and do a bit of research about Fire Bricks and they seem safe enough to cook on. For about $13 all told, I figure, what the heck. I run down and grab about 10 of them.
At this point, I can’t really fit them all in the oven. They don’t ‘quite’ fit. So…back to my friend Google, and 20 minutes later, I’m a pro at cutting brick with my tire iron and a ball-peen hammer 🙂
All that’s left is rubbing off the burrs on a crack in my concrete. The bricks are made of up fireclay and they scrape very easily , so a handy crack in the polished concrete in my carport does the trick of removing all the burrs nicely.
I wash the bricks and stack them in the oven. It’s a bit of a tight fit, so I hope the heat can get around the bricks well enough.
Next I turn the oven on to ‘warm’ so as to slowly dry out the bricks after washing them. After about 20 minutes of that, I crank the oven up to about 500/550 (aka the broil setting) and let it heat up. I think it takes about an hour to actually get up to temperature, which is kinda long.
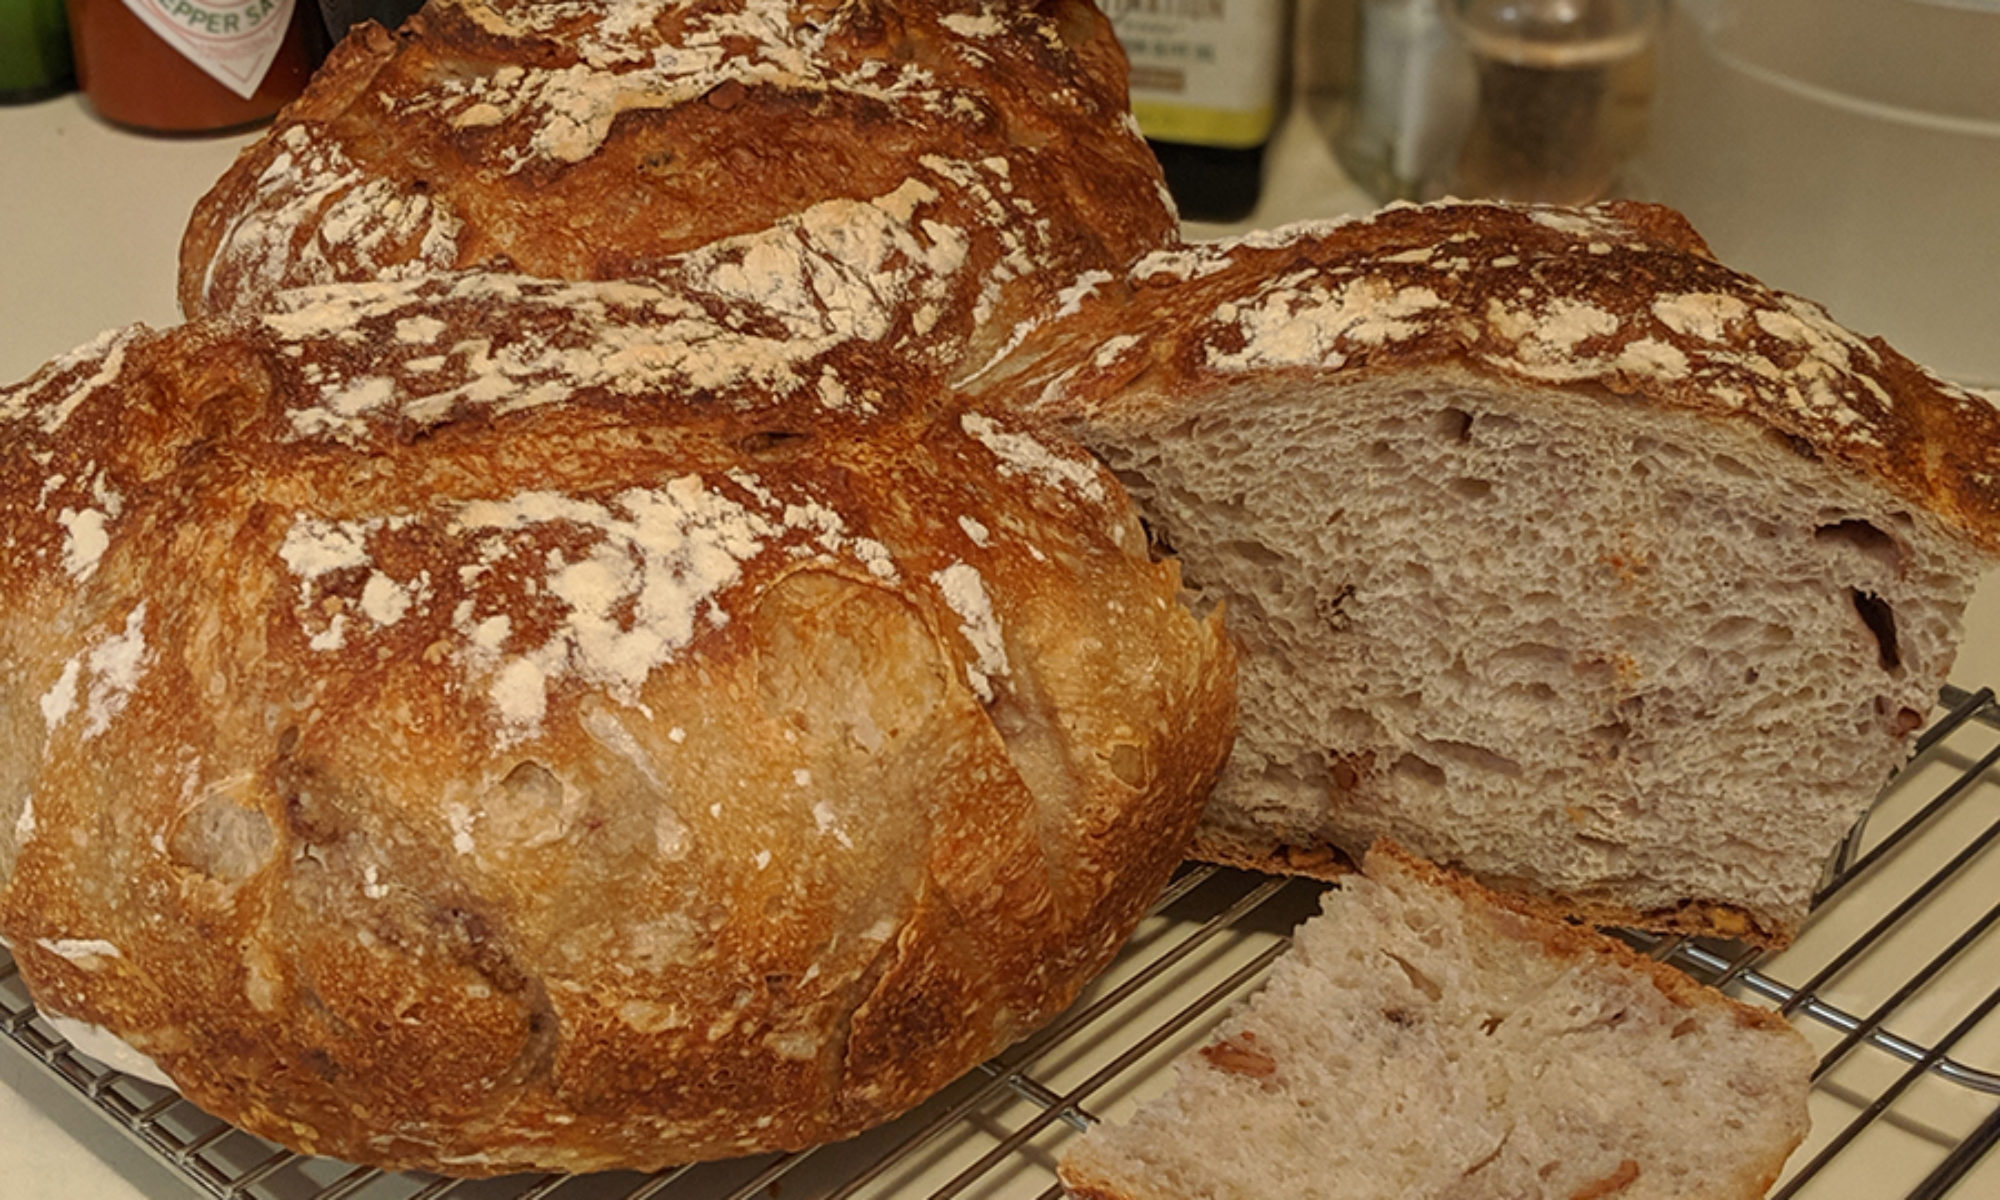
Well, yep, they get hot. Two hours after turning off the oven, they are still radiating heat. Tomorrow I’ll be baking bread on them for the first time, so we’ll see! I’ll keep you posted.

