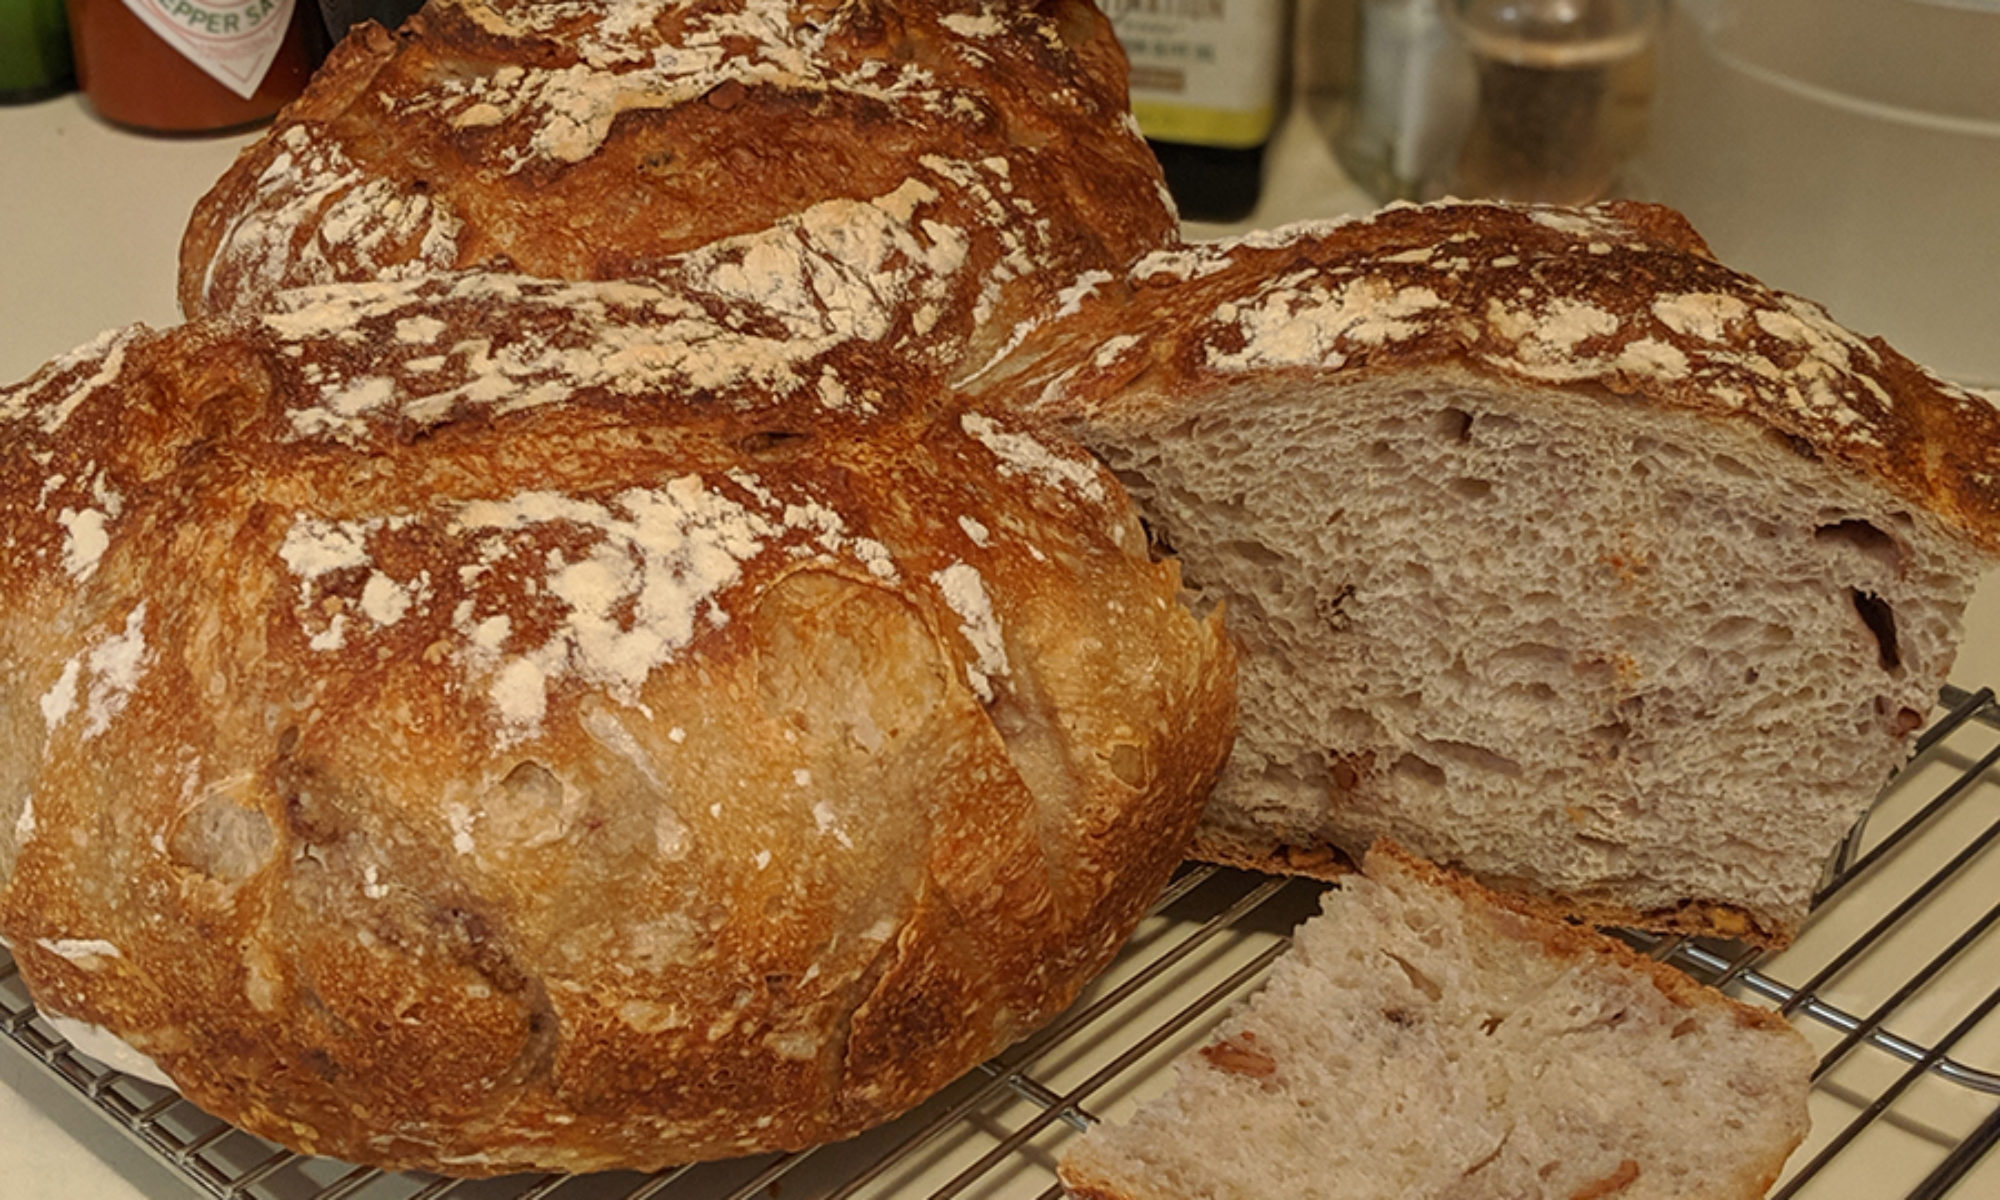
This is a repost from Peter Reinhart’s blog. I’m archiving it here for my own purposes, just in case his blog dissappears 🙂 If you’d like his recipe, I’m sorry, but you’ll have to buy his book.
Hello Again,
I have been receiving e-mails from readers of the “The Bread Baker’s Apprentice” (the BBA for short) about a problem that our recipe testers have already faced–sourdough (i.e., wild yeast) starters that bubble away early and then go dormant. I have addressed this in American Pie and will do so with more detail in the upcoming whole grains book, but this is for those new folks who are writing to me, so I can refer them to this site for a quick explanation and solution.
Through the work of a diligent group of home bakers at the King Arthur Baking Circle (www.kingarthurflour.com), led by one of our current testers, Debbie Wink, it was discovered that a strain of bacteria called leuconostoc exists in a lot of flour (more so now, it seems than a few years ago). This bacteria masquerades as yeast in the early stage of a seed culture starter, in that it generates a lot of carbon dioxide making it appear that the wid yeast cells are growing rapidly. However, the wild yeast really needs a more acidic environment than exists during the first few days of the starter’s existence and, unfortunately, the leuconostoc interferes with yeast growth during this grand masquerade. At a certain point, as the bacteria causes the dough to become more acidic, the acid actually de-activates the leuconostoc (it actually contributes to its own demise), but the wild yeast have not had a chance to propogate and grow in numbers, so there is a domancy period in which nothing seems to be happening. Many folks have assumed they killed their starter when it did not seem to respond to a Day 3 or Day 4 feeding, and threw it out. Others waited and saw mold form on the top of the starter and, of course, they too threw it out. That’s about the time I start getting their e-mails. So here are two solutions to the problem:
First, if you are starting from scratch, use canned pineapple juice instead of water during the first two days of feeding. The acid in the juice is just at the right ph level to acidify the dough to the yeast’s liking but not to the leuconostoc. The starter should then work as written. You should then switch to back to water from Day Three onward, and slowly the pineapple juice will dilute out as you feed and refresh your starter over time.
Second, and this is a big breakthrough I think, you should stir your seed culture starter two or three times a day, for about one minute each time, to aerate it. Yeast loves oxygen and multiplies faster when you stimulate the mixture with air. In addition, the stirring evens out the hydration of the dough and exposes any surface organisms that may have drifted onto the starter to the acidic environment within, and thus deactivates them while the yeast and the good lactobacillus organisms continue to grow. I’ve lost count of how many people solved their starter problem simply by this aeration technique. Once your starter is fully established it will be healthy enough to not need this added process, but it would be wise, I think, to continue the aeration throughout the seed culture phase.
If you are already into the process of beginning a seed culture but did not know about the “pineapple juice solution,” fret not. Just begin the frequent aeration and see what happens. Most likely, your starter will come to life and when it does, it will probably stay on the schedule as written in the book.

