
Sourdough can be pretty easy, and can get more complicated. The easiest form of sourdough is starter + flour + water + salt. Getting the starter going is a bit more complicated and and the type of flour you use can add complexities to the baking process.
Here’s the easy recipe:
Ingredients
| Ingredient | weight in grams | bakers % | cups |
|---|---|---|---|
| starter | 230 | 40% | 1 cup |
| flour | 575 | 100% | 2.5 cups |
| water | 375 | 65% | 1.5 cups |
| salt | 14.2 | 0.024% | 0.5poz |
Explanation
The ingredients listed above are by weight. I included cup measurements in case you don’t have a scale. The cup measurements are approximate. I’ve tossed in the percentages just because I’m geeky that way.
It’s important that you use “bread flour”. Bread flour has a higher protein content than all purpose flour. It’s the proteins that help form gluten which helps the bread taste better and rise and all that. You can find bread flour at any grocery store.
You can use whole wheat, rye or spelt flours too, but be sure that you only substitute 25% or less of the bread flour with the hardier flours. Otherwise the bread won’t rise as much. You can play around with it later, but if this is your first time, stick to bread flour. I’ve done a 50/50 split with whole wheat before and it rose ok.
Making the dough
Mixing
In a big bowl, mix all the ingredients together till a sticky dough forms. It’s ok if it’s sticky, but should definitely not be soupy and spread easily. It shouldn’t be super dry either. If it’s flakey or tears it’s definitely too dry.
Once you have a the dough made, you have to knead it. If you have a bread mixer attachment for your mixer, great. Mix it on level 6 (just above 1/2 way) for about 5 minutes. If you don’t have a mixer, then knead it by hand. It should take maybe 10 – 12 minutes.
You’ll know when it’s done when you take a hand full of dough and stretch it. If it gets super thin without tearing you are done. Here’s an image of what it should look like.
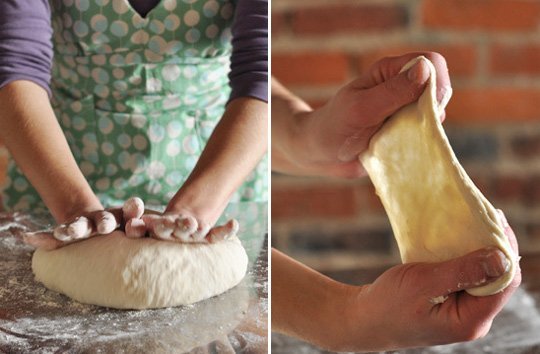
You don’t want to over knead the dough. Just stop when it gets to the point mentioned above. That’s important.
Once you have the dough done, then put it in an oil sprayed container at least twice the size of the dough, slap a lid on it, and toss it in the fridge over night. Refrigerating the dough over night slows the rising process, and enhances the flavor of the bread. You could bake the dough in the same day, but waiting over night significantly improves the flavor of the bread. It’s worth the wait.
The next morning, pull out the dough and let it sit in the container on the counter for a few hours to bring it up to room temperature.
First Proofing
Take a big bowl, spray the inside with spray oil so the dough doesn’t stick, toss the dough in, and spray the top of the dough with spray oil again. It’s best to cover the bowl with plastic wrap or something. That helps keep the outside of the dough from drying up.
This is the first proofing. You want it to double in size. If your sourdough starter is quite active, this will happen in an hour or two. If it’s not so active, it may take all day. If it takes more than 4 hours, then move on to the second proofing.
Second Proofing
Once your first proofing is done, punch down the dough. Literally push the center of the dough down with your fist. Then fold over the four sides of the dough onto the center and then flip it over in the bowl. Re-spray the top of the dough with spray oil, cover it, and let it sit for another hour or more until it doubles in size again.
Forming
Once you are done with your second proof, you’ll need to form it. I usually form it on a counter sprinkled with flour, then toss it on parchment paper for the final rise. I use the paper just cause it makes it easier to move around into and out of the oven. You can skip it though. Don’t spray the top, just cover with a cloth. It’s ok if it dries out a little bit. FYI, I have a pizza spatula to help move the bread around. It can get tricky without some sort of flat thing to move the bread.
So, forming means shaping. You can shape the bread any way you like. You can make a long baguette/batard shapes, or a round boule (bowl) shape, or whatever floats your boat. Here’s a funky little post about it with pretty good photos.
So let it rise on the counter till it doubles in size again. Or at least larger. You don’t need to spray or cover with plastic now. It’d be good to toss a cloth over the top to keep the flies off. It’ll be another 30 minutes to an hour. It could take longer or go super fast, depending upon how active your starter was.
If you want to get fancy, and get a crustier crust, you can slice the top of the bread just before you put it in the oven. three diagonal slices on a baguette works, or a cross hatch on a boule. Just think about the good bread you can buy at an actual bakery and slice it the way they do it. You’ll need a razor blade or extremely sharp knife to do this. FYI, slicing actually helps with the final rise inside the oven.
Baking
About 1/2 way through the rise, pre-heat the oven to 550 degrees. If your oven only goes to say 450 + just push it as far as it’ll go. You want it higher than 450 as you’ll be dropping the temp down to 450 once you start baking. The rack should be at it’s lowest position, but not on the floor of the oven. If you have a pizza stone, toss that on the rack to pre-heat as well. Finally put a baking tin, or cast iron skillet under the bottom rack to pre-heat as well. Basically any sort of oven proof metal container.
Boil a few cups of water. You’ll need this to steam the bread.
Put the bread on a baking sheet then into the over or directly onto the pizza stone. Again, I leave my bread on the parchment paper in the oven. It just makes it easier to move around. Take a 1/2 cup of the boiled water, toss it into the baking tin or skillet under the bread and shut the oven door for about 1.5 minutes to let the steam hit the bread. After 1.5 minutes take about an 1/8th of a cup of the water, open the oven, and toss it onto the side of the oven and shut the door to steam it for another 30 seconds. Repeat that last step one more time. Be sure not to throw the water onto the light inside the oven. It’ll break it 🙂
Steaming helps develop the crust into something extra wonderful, as well as helps the bread rise.
Once steaming is done, reduce the heat to 450 and bake for 15 – 20 minutes. If you have two loaves, you might need to flip them around half way through to cook them evenly.
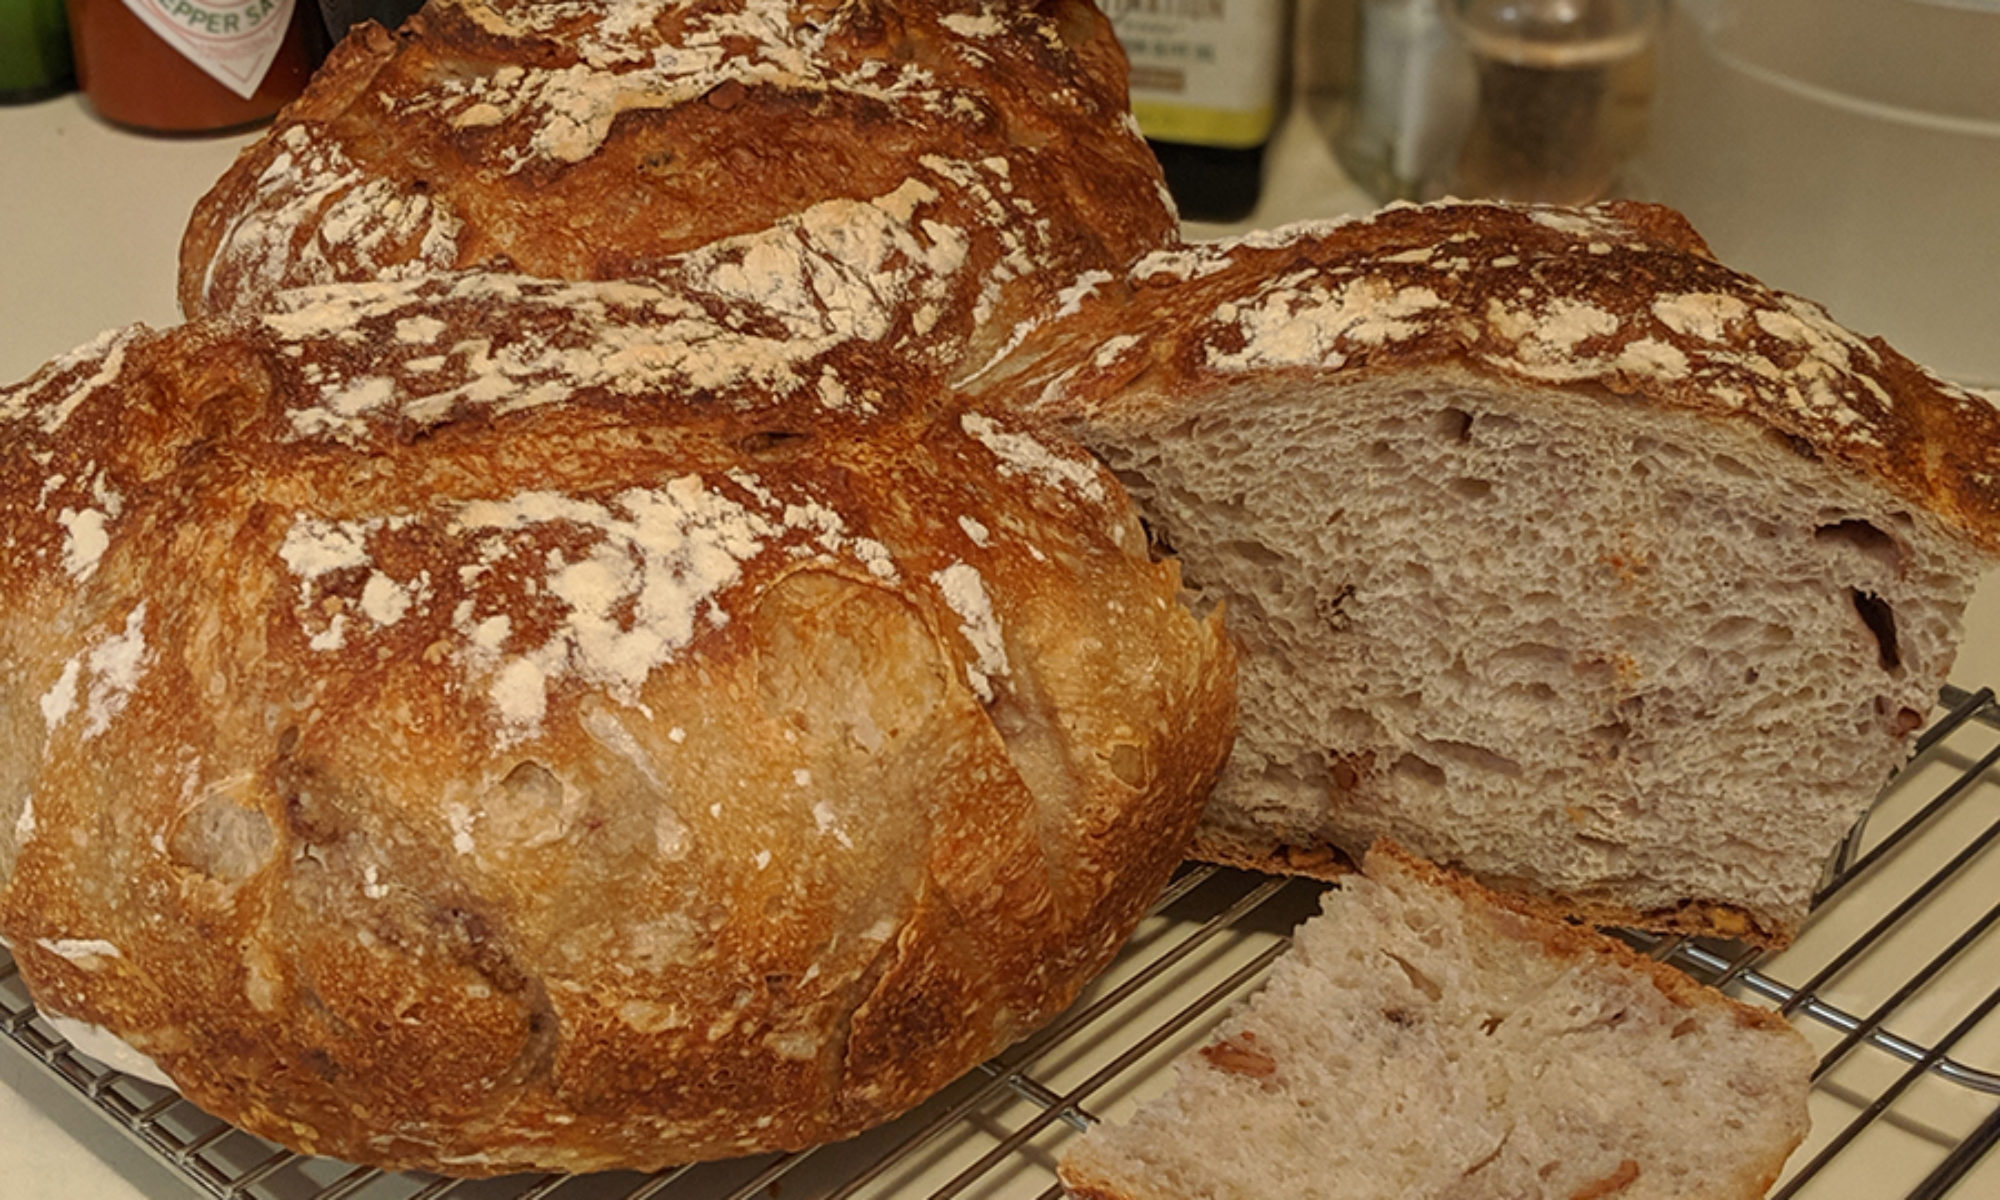
The bread is done with the top is golden brownish (darker or lighter depending upon your own taste), and when the bread makes a good hollow thumping sound when you tap the bottom (yes flip it) with your finger.
YOU MUST LET THE BREAD COOL BEFORE EATING IT. The cooling process actually condenses air inside the bread and enhances the flavor. Don’t skip this step. It’s pretty important.
There you go. Enjoy 🙂